|
Next,
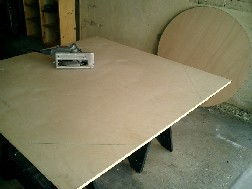
lay out the base 5'x5' plywood and measure the angles of the corners that will be cut off. Cuts may differ depending on the
size of the each table. To find the exact measurements of each side, go to the website: buster2058.netfirms.com/ octagon/calc/octagon_layout_calc.htm
or you can google "octagon calculator layout" and you just fill in the blanks and it does the rest.
|
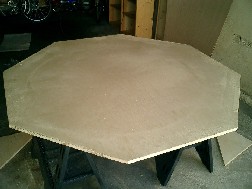
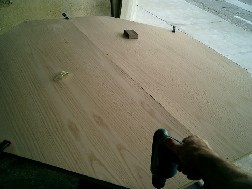
Using
a skilsaw, cut off the measured corners (making sure the original sheet was absolutely square) forming your base octagon.
|
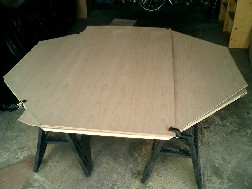
Now
take the two sheets of Oak and overlap them so that it covers the 5' octagon base. The reason for the two sheets is that each
sheet is only 4' wide. Clamp them together and lay it on top of the octagon base. Then from looking underneath, take your
marker and trace the exact octagon shape onto the BOTTOM of the Oak for cutting. Use this like a pattern for cutting.
|
|
Make
sure that the two sheets are overlapping where the seam is in the exact middle position. Since there is going to be a seam
somewhere showing on the table, it may as well be in the exact middle for balance. Keeping the clamps on make your cuts by
using the jig saw or a very fine toothed skill blade - just remember you are only cutting through 1/8" of wood so try not
to splinter the wood.
|
Now
that you have your Oak sheet cut exactly to the octagon shape of the base, it is time to fasten it on. I tend to use 1/2"
wood screws over nails as it holds better. The 1" or so perimeter doesnt have to look pretty because it will be covered with
the railing later on. Also, the outside of the Oak top does not have to match perfectly with the plywood - remember you will
be covering it with the padded railing. I used 3 screws per side and then a few in the middle to hold down the center of the
table as well. Just remember that the 8" or so towards the outside perimeter (minus the extreme outside 1" as previously
discussed) will be exposed so do not use any screws in this area.
|
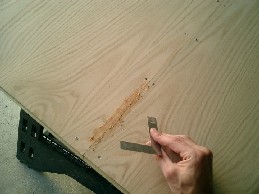
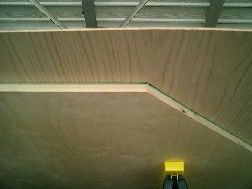
Use
liquid wood to fill in any gap in the 8" outside area of both sides of the seam. No need to fill in anywhere else as this
is the only exposed area. Make sure it really gets into the gap. Don't worry about too much of a mess as we will sand off
the extra when dried.
|
|
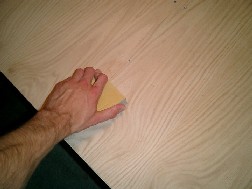
Time
for sanding. ALWAYS SAND WITH THE GRAIN. First, sand down the area where you applied the plastic wood. When sanding, always
use the course sandpaper first (80-100), then gradually move to the finer side (180, 320). Now sand the perimeter and sides
of your table - using the more course paper only. Finally sand the entire table top with the fine side - you are prepping
the table for staining. ALWAYS SAND WITH THE GRAIN.
|

Depending
on the type of stain and polyurythane (protects the table as well as adds a gloss finish) you get, some will be applied with
a brush and some wiped on. I like the wipe on. Apply as many coats as you wish, depending on how dark you like the wood.
Make sure you always go with the grain and wipe off any globs or drips for an even look.
|
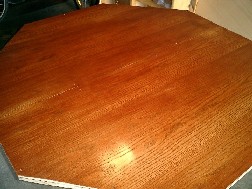
Leave
plenty of time between coats for COMPLETE drying. I applied three coats of cherry stain and two coats of polyurythane.
|